EN
EN


חדשות
התקנה של מחמם גז למחנה פנימי – שלב אחר שלב
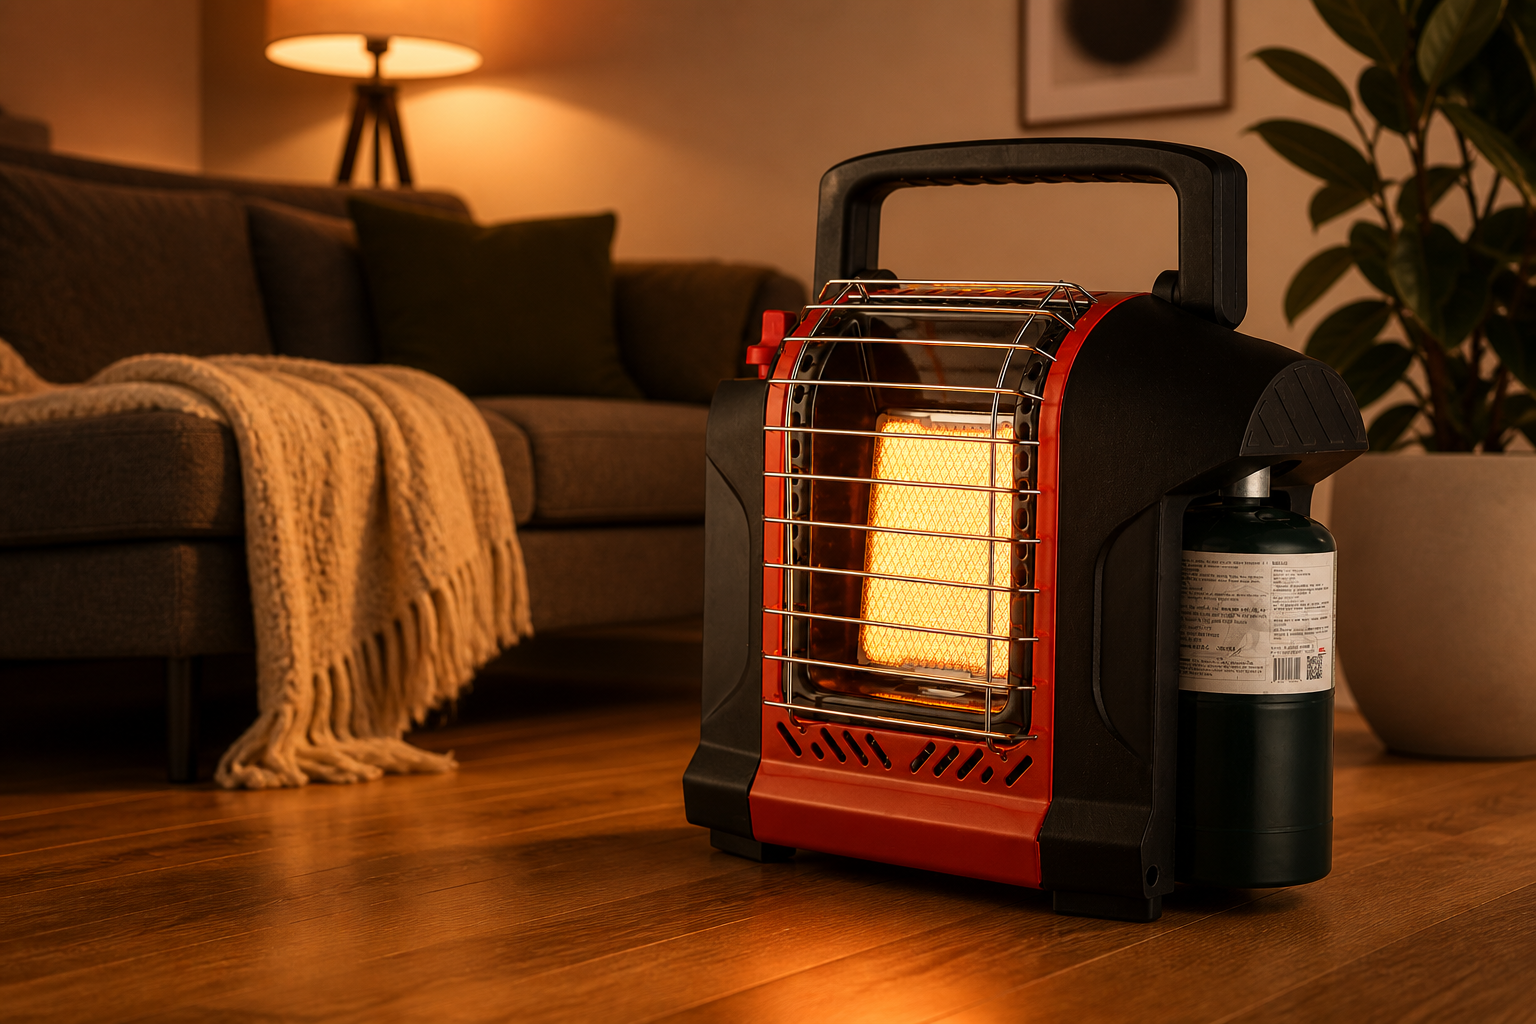
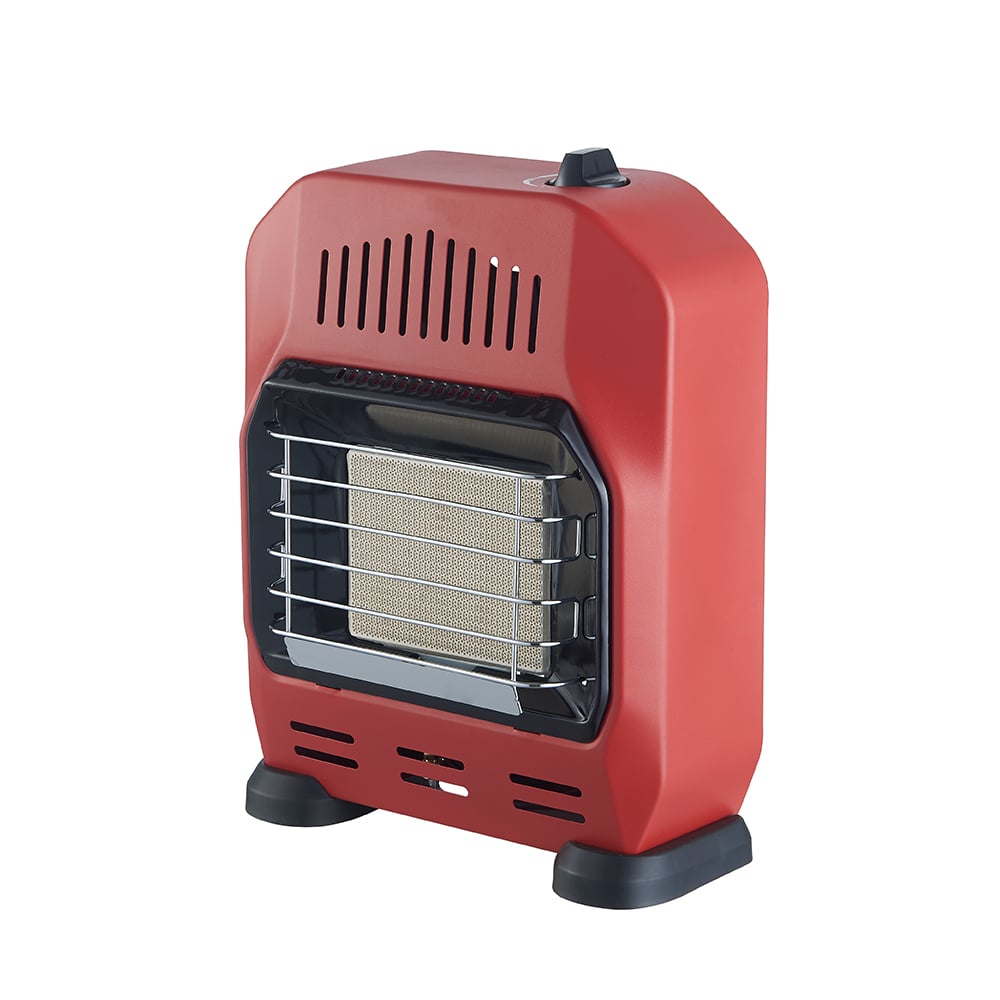
התקנת מחמם גז למחנה פנימי התקנת מחמם בדיעות היא אחת הכישורים החשובים ביותר שכל קאמפר, מטייל באוטו או חוקר סופשבוע יכול לפתח. בין אם אתם מתכוננים לסיור גלמפינג בטמפרטורות נמוכות, מתקינים אוהל צמר של בד בתחילת הסתיו, או יוצרים בסיס חם בתוך מחנה קמפינג גדול, הידיעה כיצד להתקין ולתפעל את יחידת המחמם שלכם בבטחה מהווה את ההבדל בין חוויית נוחות לבין חווייה שעלולה להיות מסוכנת. התהליך אינו מסובך, אך הוא דורש תשומת לב זהירה לכל שלב, החל במיקום הנכון ועד לבדיקה אחרונה לביטחון לפני הדלקת המנוע.
מדריך זה מדריך אתכם בכל שלב בתהליך ההתקנה של מחמם גז למחנה פנימי מספק הוראות מעשיות, צעד אחר צעד, שמתמקדות גם בחום וגם בבטיחות. מההכנה מראש וחברת בקבוק הגז ועד לניהול הזרימה ולכיבוי לאחר השימוש, כל שלב מוסבר בפירוט. עד סיום הקריאה, תקבלו תהליך ברור וניתן לחזרה אותו תוכלו ליישם בכל פעם שאתם מפעילים את מחמם הגז הפנימי, מה שיאפשר לכם להרגיש בטוחים ורוגעים בכל הרפתקאה בחורף.
הכנה מראש למחמם גז פנימי למחנה
בחירת המיקום הנכון בתוך המחסה
לפני שתשיגו בכלל את בקבוק הגז, הצעד הראשון בהקמה של מחמם גז למחנה פנימי הוא זיהוי המיקום הבטוח והיעיל ביותר בתוך המחסה שלכם. אסור להציב את המחמם ישירות נגד קיר האוהל, לוח בד או כל משטח דליק אחר. רוב היצרנים ממליצים על מרחק מינימלי של 60 סנטימטר מכל צד, אך יש לבדוק את המדריך הספציפי של הדגם שלכם כדי לקבל את המרחק המדויק הנדרש.
הציבו את המתחם על משטח שטוח ויציב כדי למנוע ממנו להתהפך במהלך השימוש. אם רצפת המחסה שלכם אינה שטוחה, השתמשו במזרון קמפ נייד או בלוח בסיס קשה מתחת ליחידה. הצבת ה מחמם גז למחנה פנימי במרכז החלל, או מעט לעבר אחד הקצוות, מאפשרת להתחממות להתפשט באופן אחיד יותר תוך שמירה על מרחק מאזורים לשינה, שם סיכון ל יצירת קשר גבוה יותר.
הימנעו מהצבת המתחם בקרבת שקיות ציוד פתוחות, ערימות בגדים או חומרי בישול. פריטים אלו עלולים להזוז במהלך הלילה ולהגיע במגע עם אזור פליטת החום. סביבה נקייה ומסודרת סביב המתחם חשובה באותה מידה כמו תכונות הבטיחות של המתחם עצמו.
בדיקת הציוד לפני ההתקנה
בדיקה מקיפה של הציוד היא שלב חובה בכל פעם שבה אתם מתקינים מחמם גז למחנה פנימי . בדקו את צינור הגז או נקודת החיבור של המניע עבור סדקים, חותמים גומיים משופעים או סימנים של חשיפה קודמת לחום. צינור פגום עלול לדלוף גז גם כאשר השסתום סגור לחלוטין, מה שיוצר סיכון חמור במרחב סגור.
בדקו את ראש המבער על נוכחות זבל, רשתות עכביש או לחות שיכולים להצטבר במהלך האחסון. מבער חסום מייצר להבה לא אחידה ופוטנציאלית מסוכנת. אם תבחינו בשינוי צבע סביב המבער מהשימוש הקודם, נקהו בזהירות לפני המשך הפעולה. ודאו תמיד כי בקבוקי הגז שלכם תואמים למודל הספציפי שלכם מחמם גז למחנה פנימי לפני שתחברו אותם.
בדקו גם את מנגנון ההצתה. בין אם יחידתכם משתמשת במגניט פיזו או במגניט ידני, בדיקת מנגנון התאורה לפני חיבור הגז נותנת אזהרה מוקדמת אם יש צורך להחליף את מגניט ההצתה. לשאת מדלק גיבוי או גפרורים ארוכים היא תמיד עיקרון טוב בעת קמפינג בתנאים קרים או רטובים.
חיבור אספקת הגז בבטחה
התקנת בקבוק הגז או המניע
לאחר שהמיקום אושר והציוד נבדק, אתם מוכנים לחבר את אספקת הגז ל- מחמם גז למחנה פנימי התחלו בכך שתוכלו לוודא שהשסתום הבקר של המתחמם נמצא במצב סגור לחלוטין או כבוי לפני שתחברו כל מקור גז. פעולה זו מונעת שחרור לא רצוי של גז במהלך תהליך החיבור.
לדגמים עם צילינדר עליון: הסריגו את הצילינדר ישירות לתוך חיבור השסתום באמצעות סיבוב חזק בכיוון השעון. אל תסרקו יותר מדי, שכן זה עלול לפגוע במושב השסתום ולגרום לדליפות מיקרוסקופיות. לדגמים המחוברים דרך צינור עם רגולטור נפרד: חברו תחילה את הרגולטור לצילינדר, ולאחר מכן חברו את הצינור לנקודת הקלט של המתחמם. ודאו שכל החיבורים מוצמדים ביד באופן אמינה ובטוחה. עם מחמם גז למחנה פנימי שהמשתמש ברגולטור לחץ, הקשיבו לקול הלחיצה המוזיקלית שמעידה על חיבור תקין, אם דגםכם כולל תכונה זו.
אל תפעלו כוח על החיבור אם הוא אינו מתאזן חלקית. התיזוג הלא תקין של חיבור גז עלול ליצור נקודת דליפה שקשה לאתרה ומסוכנת לשימוש. אם תרגישו התנגדות, הסירו את החיבור לחלוטין, בדקו את השרשראות, והתחילו מחדש בזהירות.
ביצוע בדיקת דליפת גז
לאחר חיבור הגז ל- מחמם גז למחנה פנימי , תמיד בצעו בדיקת דליפת גז לפני הצתה שלהבת. פתחו את שסתום הגז במעט כדי לאפשר כמות קטנה של לחץ למערכת, ולאחר מכן הפעילו פתרון של סבון ומים על כל נקודות החיבור. בועות הנוצרות בכל מפרק מצביעות על דליפת גז שעליה לטפל לפני השימוש במחמם.
אם תגלו דליפה, סגרו מיד את שסתום הגז, פרקו את הבקבוקית ובצעו בדיקה של רכיבי החיבור למציאת נזק. טבעת O או אטם משומשים הם לעיתים קרובות הסיבה לבעיה, והחלפתם זולה מאוד. אל תנסו להצית את המחמם אם יש חשד לדליפה, ואל תשתמשו באש לבדיקת דליפות גז.
ברגע שבדיקת הדליפה מאשרת שכל החיבורים בטוחים, ניתן להמשיך לשלב ההצתה בביטחון. בדיקה קצרה זו, שנמשכת שתי דקות, היא אחת המסורות הערך ביותר שניתן לבנות בעת עבודה עם כל מחמם גז למחנה פנימי באופן קבוע.
ניהול ונטילציה לשימוש פנימי
מדוע ונטילציה אינה יכולה להיות מוזנחת
הונטילציה היא ככל הנראה הגורם החשוב ביותר בעת הפעלת מחמם גז למחנה פנימי הבעירה של גז צורכת חמצן ויוצרת מונוקסיד פחמן כתוצר לוואי. במרחב סגור או בעל וентילציה לקויה, ריכוז המונוקסיד פחמן יכול לעלות לרמות מסוכנות במהרה, ללא סימני אזהרה חזותיים כלשהם. מונוקסיד פחמן הוא חסר ריח וחסר צבע, מה שהופך אותו לסכנת בריאות מיוחדת בסביבות שינה.
כל אוהל, אוהל קבינתי או מקלט למחנאות המשמש עם מחמם גז למחנה פנימי חייב לכלול לפחות נקודת ונטילציה פעילה אחת פתוחה בכל עת במהלך הפעלת המחמם. בדרך כלל זה אומר להשאיר פתח תקרה פתוח, פתח רשת תחתון פתוח או דלת/חלון פתוח חלקית כדי להבטיח החלפת אוויר טרי מתמדת. המטרה אינה לאפשר לזרם האוויר הקר לפגוע ביעילות המחמם, אלא לשמור על זרימת אוויר מינימלית המספיקה למניעת הצטברות גזי הבעירה.
השקיעו במדגמי פחמן חד-חמצני ניידים והציבו אותו בגובה השינה בתוך המקלט שלכם. פריט ציוד בודד זה מספק רשת בטיחות שאף הכנה כפולה לא יכולה להחליף. רבים מחניכים מנוסים רואים במדגמי פחמן חד-חמצני חובה שווה ל- מחמם גז למחנה פנימי עצמו עצמו.
טכניקות מעשיות להתקנת מערכת אוורור
כאשר מתקינים את מערכת האוורור יחד עם ה- מחמם גז למחנה פנימי , גישה של אוורור חéo-צדדי עובדת הכי טוב באוהלים מבד או באוהלים בצורת פעמון. פתחו פתח אוורור קטן בצד הנגוע ברוח ובצד הנגוע בצלע ההפוכה כדי ליצור זרימת אוויר עדינה דרך האוהל. כך מזיזים את האוויר לאורך המרחב ללא יצירת זרמים לא נעימים ישירות על המאוכלים.
באוהלים בצורת קומה או במקלטים קטנים יותר, פתיחת חצי מהקופסא החיצונית בשילוב עם פתח אוורור בקרון מספקת זרימת אוויר מספקת. הקימו את האזורים הפתוחים רחוק מהפליטה הישירה של החום מהמחמם כדי למנוע ספיגת אוויר קר דרך להבה, מה שיכול לגרום לבעירת לא יציבה או לכיבוי אקראי.
התאם את ההזנה באוויר באופן דינמי ככל שטמפרטורת החוץ יורדת במהלך הלילה. אם אתה מתעורר כדי להתאים את פליטת המחמם, ודא גם שהנקודות להזנת אוויר נותרו פתוחות. קondenציה או קרח עלולים לסגור חלקית את פתחי ההזנה של האוהל בלילה, מה שפוגע בשיעור זרימת האוויר ללא ידיעתך.
הפעלת המנוע והפעלת המחמם כראוי
תהליך ההצתה צעד אחר צעד
עם הגז מחובר, נבדק לנחיתות ומזינה מאושרת, אתה מוכן להצית את ה מחמם גז למחנה פנימי . התחל על ידי פתיחת שסתום הבקרה בגז לאט עד למקסימום הנמוך ביותר. פעולה זו מספקת את זרימת הגז המינימלית הדרושה להצתה ראשונית, ומצמצמת את הסיכון ללהבה חזקה מדי בעת הפעלת הצריבה.
לחצו והחזיקו את כפתור ההצתה או השתמשו במצת החירום שלכם כדי להכניס ניצוץ או להבה קרוב לראש המבער. לרוב מצתי הפיזו דורשים לחיצה חזקה וברורה. אם ההצתה לא מתרחשת תוך שלוש עד חמש שניות, שחררו את השסתום למצב 'כבוי', המתינו שלושים שניות כדי לאפשר לכל הגז שנפלט להתפזר, וחזרו על התהליך. אל תאפשרו לאגירת גז לפני ניסיון ההצתה הבא.
ברגע שה מחמם גז למחנה פנימי כאשר המבער מוצת, החזיקו את שסתום הגז בהגדרה הנמוכה במשך 15–30 שניות כדי לאפשר לרכיב הבטיחות התרמי (תרמוקפל) להתחמם. אם דגם זה כולל מכשיר בטיחות נגד כיבוי להבה, יש להחזיק את השסתום פתוח עד שהתרמוקפל יגיע לטמפרטורת הפעולה שלו, ובשלב זה הוא יחזיק את השסתום פתוח באופן עצמאי.
התאמת פליטת החום ומעקב במהלך השימוש
לאחר הצתה מוצלחת, הגדילו בהדרגה את שסתום הגז לפלט החום הרצוי. להבה צריכה להיות יציבה וכתומה עם קונוס פנימי צהוב קטן. להבה צהובה או כתומה בדומיננטה, או להבה שמייצרת רעש חריג, עלולה לרמז על בעיה בערישה לא שלמה ודורשת כיבוי מיידי בדיקת המבער והשאיבה.
צפו ב מחמם גז למחנה פנימי ב-15 הדקות הראשונות של הפעלה כדי לאשר התנהגות יציבה של הלהבה ופלט חום עקבי. ודאו שהמחסה מחמם באופן אחיד ולא נודף ממנו ריח חריג. ריח קל של גז בעת ההצתה הוא תופעה נורמלית וצריך להתפוגג תוך שניות. ריח גז מתמשך דורש כיבוי מיידי ותפעול של השאיבה במקום.
אל תעזבו אף פעם מחמם גז למחנה פנימי הפעלה אוטומטית לתקופות ממושכות, ותמיד לכבות אותו לפני שיכנעו אלא אם כן המתחם מאושר במיוחד להפעלה לילה ולידך יש מד גז חמצן-פחמן פעיל.
כיבוי בטוח ואחרי השימוש
סדר הכיבוי הנכון
הכיבוי של מחמם גז למחנה פנימי הוא חשוב באותה מידה כמו תהליך ההפעלה. התחל על ידי סיבוב שסתום הבקרה בגז למצב הסגירה המלא, והשאר את הגז הנותר במערכת לבעור לחלוטין עד שכיבוי האש יקרה באופן טבעי. אל תכבה את האש ידנית על ידי ניפוח, שכן פעולה זו עלולה לדחוף גז לא בעור חזרה לתוך המבער והצינור.
לאחר כיבוי האש, יש לאפשר לגוף המתחמם להתקרר לחלוטין לפני נגיעה או אחסון. רכיבי השרפה הסרמיים או המטאלים שומרים על חום משמעותי במשך מספר דקות לאחר הכיבוי. נגיעה מראשית בראשה של השרפה היא סיבה נפוצה לכוויות קלות במהלך פירוק המחנה. יש להמתין לפחות עשרה דקות להתייבשות היחידה באזור מאוורר.
הסר את צינור הגז מה מחמם גז למחנה פנימי לאחר ההתקררות. אחסן את הצינור בעמדת עומק ישרה בכיס חם ויבש, הרחק מחשיפה ישירה לשמש וממקורות חום. אין להמליץ על תחבורה של צינורות בתוך רכב סגור ללא proper אוורור, במיוחד בימים חמים.
בקרה ואחסון לאחר השימוש
לאחר ההתקררות, בצע בדיקה קצרה של מחמם גז למחנה פנימי לנוכחות שכבת אפר על השרפה או על הלוח הסרמי, אשר עלולה לרמז על בעיה ביעילות הבעירה. נקה את אזור השרפה בזהירות בעזרת מברשת יבשה אם יש צורך. בדוק שוב את הצינור והחיבורים למציאות כל נזק שעשוי היה להתרחש במהלך השימוש.
אחסנו את המתחמם בשקית ההובלה שלו או באריזתו המקורית כדי להגן על רכיבי המבער והמצית מפגיעות ומרטיבות. שמירת המתחמם נקי ויבש בין השימושים מאריכה באופן משמעותי את תוחלת חייו הפעילה ומבטיחה ביצועים אמינים בטיולים הבאים. סמנו את שקית האחסון בתאריך הבדיקה האחרונה כדי שתדעו תמיד מתי הוא נבדק לאחרונה לפני היציאה הבאה שלכם.
שאלות נפוצות
האם ניתן להשתמש במתחמם גז למחנות פנימי באוהל לאורך הלילה?
לרוב, מתחמי גז פנימיים סטנדרטיים למחנות אינם מאושרות לשימוש בלתי מודרך לאורך הלילה בסביבת שינה סגורה. אם יש צורך בחימום לאורך הלילה, יש לבחור במודל שכולל חיישן חוסר חמצן ומכשיר מאושר לכיבוי להבה במקרה של כשל, לוודא שהאוורור הדרוש נשאר פתוח, ולשתמש תמיד במדחום מונוקסיד הפחמן פעיל שמוצב בגובה השינה. אסור לסמוך על המתחמם כמקור החימום העיקרי בזמן שינה ללא אמצעי בטיחות אלו.
איזה סוג של פחית גז תואם למתחמם גז פנימי למחנות?
ההתאמה תלויה לחלוטין בדגם הספציפי של מחמם גז למחנאות פנים אותו אתה משתמש. רוב מחממי המחנאות הניידים מעוצבים עבור צנצנות גז בוטאן או פרופאן עם חיבור דקיק לפי התקן EN417, או עבור צנצנות גז עם חיבור סגנון 'באיונט' סטנדרטי, בהתאם לשוק. תמיד יש לעיין בהוראות הפעלה של המחמם כדי לאשר איזה סוג גז ואיזה סוג חיבור לצנצנת נדרש. שימוש בצנצנת לא תואמת יוצר סיכונים בחיבור ועשוי לבטל את כל אישורי הבטיחות שמחזיק המחמם.
איך אני יודע אם מחמם הגז למחנאות פנים שלי מייצר מונוקסיד פחמן?
מונוקסיד פחמן הוא חסר ריח וחסר צבע, ולכן אי אפשר לזהותו באמצעות הריח או הראייה. גלאי מונוקסיד פחמן נייד הוא הדרך היחידה האמינה לפקח על רמות מונוקסיד הפחמן בעת השימוש במחמם גז למחנאות פנים. להבה צהובה או כתומה, הצטברות של אפר על המחמם, או ריח מתמיד של בעירה מוצרים יכול להראות שריפה לא שלמה והגדלת ייצור CO, אבל גלאי ייעודי נשאר כלי בטיחות חיוני בכל תרחיש חימום סגור.
באיזה מרחק מהקירות של האוהל יש למקם מחמם גז למחנות פנימי?
ככלל, יש למקם מחמם גז למחנות פנימי במרחק של לפחות 60 סנטימטר מכל קיר בד, ציוד וחומרים דליקים. עם זאת, המרחק המדויק הנדרש בין המחמם לקירות משתנה בהתאם למודל הספציפי, ולכן יש תמיד להתייעץ בהנחיות הבטיחות של היצרן כפי שמתוארות במדריך המשתמש. מיקום המחמם על משטח יציב ושטוח באזור פתוח של המקלט מפחית את סיכון השריפה ומאפשר הפצה אחידה יותר של החום בכל החלל.